Monday, 20 May 2013

Rearguard at Pevensey

The final game of our wargaming weekend was another outing for the I Ain't Been Shot Mum from the TooFatLardies.  I picked a scenario from the old Operation Sealion book and Lenin and I reprised our usual roles.

The Home Guard (Lenin) are defending the edge of Pevensey when the Blitzkrieg hoves into view.  Their task is to hold up the Germans until the regulars can come to the rescue.

My German infantry came onto the board and straight into a crossfire from the town and the train halt.  After having taken a few casualties I managed to get my machine guns deployed and concentrated some fire into the town which quickly put paid to the first Home Guard unit.

It was then an interesting exercise in FIBUA with the Home Guard slowing up my advance whilst their reinforcements advanced across the table.  Here are some pictures of the game:


I have to say that if I were playing this one again I would move the town into the centre of the table as we really didn't use the top half of the table which was a bit of a waste.

Sunday, 19 May 2013

Alaska Bob and the Sonic Laser

In our ongoing search for a set of Pulp rules we both like Lenin decided to give Pulp Alley a try.

The scenario was built using the scenario generation mechanisms in the rules so we ended up with Lenin playing the hero, Alaska Bob, trying to stop me, as the dastardly Count Smirnoff and his henchman Fekov, from assembling the terrible Sonic Laser (yes, I know that makes no sense but, hey, it's Pulp!) in my secret hideout in the frozen north.

We both assembled our leagues, again using the mechanisms from the rules,which were pretty straightforward, and started to play.

The game started with Alaska Bob having been cut off from the rest of his league and surrounded by Smirnoff's men.


With neither Smirnoff nor his right hand man wanting to take any chances Bob was managing to hold off their lackeys.


The rest of Bob's team began to advance into Smirnoff's camp and came to the notice of the dog sled team.


A couple of them tried a sneakier and more roundabout route.


One of Bob's chaps managed to calm the huskies and started to examine the crates.


Meanwhile Feckov decided to see what had alerted the dogs and Smirnoff went to check on some of the key components for the device which allowed Alaska Bob to whittle down the remaining opposition.

Whilst Fekov managed to deal with a couple of Bob's crew, he and Smirnoff thought thinks were getting a little too hot for their liking and melted away into the woods...

Tuesday, 7 May 2013

More Maurice

I wanted to give my WSS collection a bit of an outing and Lenin was keen to try Maurice again but using the full rules - so we did a pick up and play game using the set up from the book.

The key additions from our previous game were National Characteristics, Notables, early 18th Century artillery and variable weather.  National Characteristics are handled through points for this type of game but I suspect we would choose them for a more historically based one.  We chose to have two Notables each - these are drawn from the whole period the rules cover and so you can get some rather strange combinations (as indeed we did!).

Lenin took command of the English forces and chose Lethal Volleys as his only National Characteristic and drew Jonathan Russell, Earl of Bragge and Kershaw, Earl of Brent as his Notables.


I reprised my previous role as commander of the French choosing à la Baïonnette! as my only National Characteristic.  I then drew the Reverend Howard Whitehouse and Giovanni di Tripodi as my Notables.  We both decided to utilise one of our Notables as a Chief of Staff and placed the other with the cavalry.

Terrain placement was an interesting phase as Lenin focussed on creating an excellent defensive position for me to assault and so missed the chance to mess up my deployment and communications with some awkward placement.  We ended up with a hill in centre with woods and a marsh around it and a large town to Lenin's left.  The objective was, of course, in the town.


Lenin deployed his artillery on the central hill with most of his cavalry massed to their left and most his infantry between them and the town, with one unit as a garrison force.  His remaining cavalry and his other infantry were placed in column to his rear (something I suspect he would have done differently now) with the cavalry behind the town.


I deployed my forces with my infantry on my right in two lines facing the town, my artillery in the centre and my cavalry to the left.


Initially my foot advanced towards the town.  So the English advanced their horse to threaten my infantry's left and moved the remainder of his cavalry through the town to reform and threaten the centre of my foot.


I countered the horse on my left with my own horse and my foot stood and volleyed the English horse as emerged from the town.


A cavalry battle ensued with the Earl of Bragge leading repeated charges at my horse but having squadron after squadron shatter against the superior French!


Meanwhile the English horse facing the centre of my infantry were being decimated by volley after volley of musketry and eventually fell back.  I then advanced on the town extending my right flank to concentrate my fire on the English garrison.

The English advanced their foot in the centre but I threatened them with my horse and my foot eventually overcame the English garrison in the town.  The remaining English advanced to the rear of the town to prevent me outflanking them and moving into their rear.

With the English morale failing but the objective still contested dusk fell and the engagement was declared a draw.

Saturday, 4 May 2013

First Play: Disposable Heroes

For our next game we decided to give Disposable Heroes & Coffin for Seven Brothers from Iron Ivan Games a try.  Whilst Nuts! remains our favourite WW2 skirmish rule set they aren't perfect so we're always on the look out for alternatives.

Lenin set up a game, based in Italy, using one of the basic scenarios with a few minor changes to suit his available figures.  We used my collection of Eslo buildings for some factory ruins.  These were to be occupied by Lenin's US force and I had to throw him out and occupy them with a similar sized German force but with a Panzer IV in support.


My first concern was obviously the fact that I didn't outnumber him - I would normally work on a 2:1 at least for this sort of action and whilst I had the tank the rules didn't help me use it to improve the odds!


I initially massed my force in the woods on my left to try to create enough of an advantage and try to turn the US flank.  But my attack was slowed down somewhat with fire from the US forces in the centre of the table.  I wanted to try to use the tank to suppress the enemy in the centre; however, I just couldn't get the tank crew to spot them.


Eventually I managed to suppress the US on the left which would allow me to advance but Lenin was moving the men on his left across the board so it all I had managed to do was to pivot the battlefield.


In the end we decided to abort the game rather than carry on as we weren't warming to the rules.  Disposable Heroes uses an alternate unit activation system which we found a little cumbersome and was prompting some rather gamey thinking rather than encouraging proper tactics.  The rules also seemed not to address or have abstracted a number of areas which we felt meant Nuts! provided a better experience for the type of game we wanted to play.

Wednesday, 1 May 2013

Dead Man's Hand Side Street Building 1

As you may have notice from a previous post, one of my purchases at Salute was one of the new 28mm buildings to accompany the Great Escape Games Dead Man's Hand rules.  At launch the range is five buildings, 3 single storey and 2 two storey ones but they are talking about expanding it to a fairly extensive selection in the future.

I only picked up a single building as I wanted to (a) see how it went together and (b) how it scaled with my existing Western buildings.  As with the previous 4Ground buildings I have had, this is a pre-painted laser cut MDF kit and it went together really easily - more easily than some of the other buildings I have had from them.  Here are a few photos of the finished building showing it alongside some of my existing collection (the one to the left is from Hovels and the one to the right from PMC on eBay).


I think they all work pretty well together and I'm really pleased with my new addition.  The kit is £18 from Great Escape Games (the 2 storey ones are £36) but they're not (yet?) available from 4Ground directly.

Sunday, 28 April 2013

Jason and the Bracers of the Titans

With Lenin having taken the plunge and picked up a copy of the new Crooked Dice 7th Voyage rules (plus haveing brought me some rather nicely painted hoplites to add to my collection), we were both rather keen to try them out.

The rules are clearly closely related to 7TV, which we have played before, and have a deliberately cinematic feel.

The scenario was built from the rules and geared around the figures and terrain we had available. So we ended up with Lenin taking the part of Jason and his companions.


The Argonauts were looking to steal the Bracers of the Titans from me, the evil Aeëtes, King of Colchis.


Whilst Jason has his crew and some Amazons he'd picked up on the way, I started with only a couple of mercenaries and the multi-headed Dragon of Colchis to guard the Bracers (which were at the centre of the ruined temple).

Jason and his band advanced slowly, obviously awed by the ferocious dragon whilst my mercenaries tried to get around their flank.  A few of the crew of the Argo broke away from the others to tackle my men.


But I had a surprise in store.  I began chanting and summoned of the children of the dragon's teeth.


The Amazons began to shower the dragon with arrows and the Argonauts put paid to one of my men but, as the dragon and my skeletons advanced, their fearsome appearance turned their blood cold and they found they could not approach them.


Eventually Jason and one of the other Argonauts managed to overcome their fear and attacked the dragon.  But the Argonaut fell to the dragon's maw and Jason had to withdraw.

With my skeletons ganging up on and putting paid to the Argonauts and the attack on the dragon failing to make headway, the Argonauts retired to fight another day.

Thursday, 25 April 2013

First Look: Dead Man's Hand

One of my purchases at Salute was a copy of the new Wild West rules from Great Escape Games, Dead Man's Hand.  The rule book is 44 pages long in a softback, staple bound, full colour format.  It comes with a set of small cards in a plastic box.

Other than the contents page, the rules are laid out in a single column format with large section and sub-section headings and are interspersed with photographs of miniatures and comment bubbles from various line drawn characters.  The inner side of the front and back covers are a quick reference sheet with one in metric and the other imperial measurements.

The game appears to be intended as a cinematic take on the West and provides for 4 separate factions - Lawmen, Cowboys, Outlaws and Desperados.  Each faction is intended to be represented by a gang whose stats are similar but not identical and who have slightly different abilities.

The game uses the pack of cards both for initiative (using their number) and also as special events/actions (using the text printed on the card).  The card suits are allocated one to each gang.


Each player is dealt a hand of cards from their suit and then uses the remaining cards in the draw deck for initiative purposes.  You have some control as the first card is dealt face up but the remainder are face down; however, there are some switching and abilities which may affect the final allocation.

Each figure has three actions per turn including moving, aiming, shooting, reloading and recovering (removing the effect of markers).  Shooting is based on a d20 mechanism using ranges with some simple modifiers, whilst melee combat is based on a d10.  Target figures have some limited opportunities to interrupt an active figure and there are some morale rules when your gang reaches certain casualty levels.


Games are intended to be played as a series of linked "scenes"; however these can be played separately.    A selection of scenes is provided within the rules and these can be played in various combinations as they differ in size and duration.

The rules are rounded out with a page of markers which you can copy and cut out or a set of lazer cut MDF markers are also available:


The rules and cards are £20 and the markers will set you back another £8 (although you could cut out your own).  Great Escape have also commissioned a set of pre-painted laser cut MDF buildings from 4Ground (one of which I also picked up at Salute).  I am looking forward to getting these rules to the table and it has certainly reignited my interested in Western games.

Wednesday, 24 April 2013

Shoot-out in Bleid

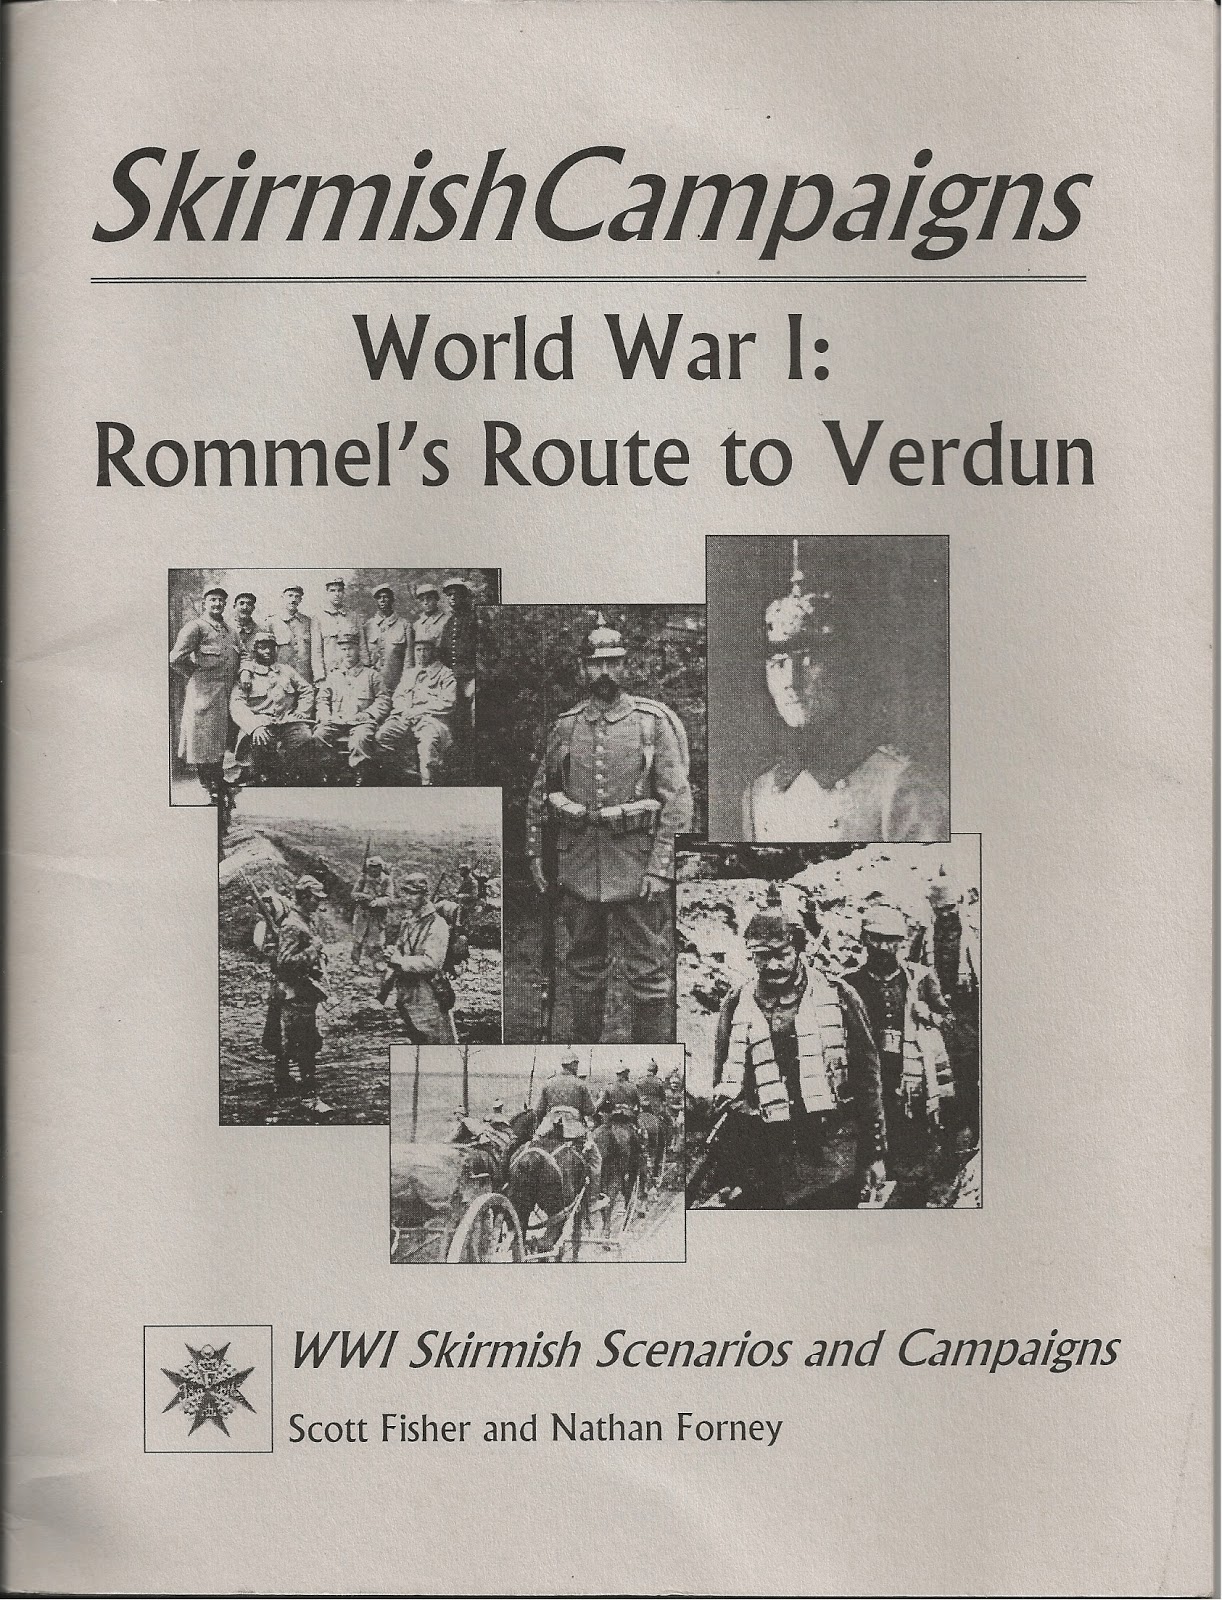
So after our visit to Salute Lenin and I sat down to play a few games. First up was the next in the ongoing Rommel's Route to Verdun campaign, the assault on the village of Bleid.

22 August 1914, 0930 hours - the village of Bleid, about 50km northeast of Verdun

Several companies from the French 101st Infantry Regiment were holding Bleid and the areas north and south of the village.  Rommel brought his platoon up and prepared for an assault.  The focus of the early fighting was a church near the centre of the village.  The German assault teams set several buildings on fire to flush out defenders and also to create smoke to cover their advance.  The morning fog had still not totally lifted adding to the problems confronting the French defenders.

As previously Lenin took the role of Rommel and command of the German force assaulting the village (in fact the presence of Rommel is only an option for this scenario but Lenin decided he wanted the main man there).  I took command of the French defending the village.


The Germans split their forces with Rommel leading one party through the woods and up the left flank. With the remainder moving up to the first house on the right.  The fog was a real boon to them as it limited visibility.


With the first house secured the right flank group advanced on the next house up the road where they encountered their first resistance.  Although the resistance was rather limited as three of the four French soldiers in the house decided to take to their heels and join their compatriots in the adjacent property!  The remaining man fought bravely for France but was overwhelmed quickly.


Meanwhile, on the other flank, Rommel advanced from the woods and came under fire from the nearest house.  His group laid down a barrage of rifle fire and then rushed forward and stormed the house.  The defenders were quickly despatched and the house secured.

The group on the right flank decided to move on to the next house.  Not only did they come under fire from the house itself but they were caught in a crossfire from the house across the street and took several casualties.  This setback stalled the advance on the right.  Rommel pushed his men forward to assault the next house on the left and then moved quickly over to the right flank to restart the advance there.  He decided the best way forward was to literally smoke the defenders out.  He and two of the assault section rushed forward and set fire to the house.  They came under fire but were able to complete their task and fall back.  The fire quickly took hold and the French were forced to fall back once again.  As the first spread it also obscured the house across the street and allowed the German advance to continue unhindered.


With the final house on the left flank having been secured after brief but bloody hand to hand fighting, the Germans regrouped and moved out of the house across the road to take up a position on the last house in the centre.  However, the French occupying the house weren't about to give it up easily and a hail of rifle fire rained down on the advancing Germans, who hunkered down behind the garden wall.


But it wasn't enough as Rommel advanced using the smoke from the burning house as cover and stormed the final property.  Once again the French defenders were defeated and Bleid was taken.

Sunday, 21 April 2013

Salute 2013 Swag

With Salute 2013 now behind me and the aches and pains reminding me that I'm getting older, I thought I'd do a quick overview of my experience at the show and the loot I brought back from it.

With no engineering works on the DLR this year, Lenin and I got to the show at a reasonable time and joined the advance ticket queue.  As we waited the queue got longer and longer and started looping back on itself - so it was clear there were plenty of people there.  We have the obligatory walk past of the Star Wars cosplayers and people pressing leaflets into our hands but we didn't start to move into the show until 10am (although still in advance of the pay on the day folks).

Once in I went around and picked up all the things from my list which I thought there might be a danger of the traders running out of and then we took a more leisurely walk around the show.  It felt pretty busy and there seemed to be quite a bit of interest at most of the trader's stands.  There were quite a few things which, whilst I wasn't sure I'd be buying, I wanted to have a look at.  First up was the new Whitechapel to Baker Street range from 4Ground:
Whilst the larger buildings are, as I expected, quite a bit more expensive than their normal ranges, the buildings do look rather nice and I may well be "investing" in some of these later in the year.  I did, of course, pick up a couple more 15mm buildings to add to my collection and one for my new Muskets & Tomahawks project.

I moseyed on over to the Great Escape Games' stand to take a look at their new Wild West rules release, Dead Man's Hand.  Which was interesting enough for me to pick up a copy (expect a first look post on that shortly) - I also picked up on of their new MDF building range which they are having 4Ground produce to accompany the game.  They had some full assembled ones near their demo game and they looked rather nice but I wanted to see how they'd scale with my existing buildings.

At lunchtime I joined up with a whole bevy of bloggers at the Rejects' meet up and got to put faces to names for some of the wargaming bloggerati. Here's a photo of some of the crew (courtesy of Big Lee - who always has a superlative range of photos for the shows as well as a really interesting blog) see if you can spot me lurking towards the back:

Image by Lee Hadley at BigLee's Miniature Adventures

As usual I managed to catch up with a whole legion of old friends and have a decent natter.

So what did I buy in the end - well here a look:


Tuesday, 16 April 2013

Final Combat: Ardennes

The next scenario book from Britton Publishers I want to look at is Final Combat: Ardennes.  Published in 2008, the book contains 12 scenarios based around the German Ardennes Offensive in 1944.

The booklet is similar in size to Chef-du-Pont, coming in at 70 pages.  After a page and a half introduction there is a single page of publisher's notes and then a rules translation table followed by the scenarios.

Each scenario starts with the historical situation, campaign options (if the scenario is being played as part of a campaign), a description of the mission, orders of battle for each side (followed by any reinforcements), the set up, any special conditions e.g. movement restrictions, artillery/minefields (if any) followed by a brief summary of the historical aftermath and a map (colour drawings of the table layout).  About a third of the scenarios are around a reinforced platoon of infantry or less but the balance require some significant numbers of AFVs and so might well be a challenge in 28mm (unless you have an extensive collection or money is no object!).  It would appear, from some of the maps, that a couple of the scenarios are actually intended to be played at a smaller figure scale.

As you might expect the terrain is expected to be snow covered and around a third of the scenarios require quite a few buildings but otherwise are pretty straightforward with roads, trees and the like; however, one scenario does require a train.

As I'm interested in this particular aspect of the war I found the booklet interesting but have yet to actually play any of the scenarios as I don't have quite the right mix of kit as yet.  The pdf comes in a little over £7.60.