Thursday, 19 July 2012

First Look: Pike & Shotte

Pike & Shotte is the latest addition to the Warlord rules stable and another of the "Black Powder family".  In this case the heritage is very obvious as this was apparently originally conceived as a supplement but ended up growing into a full set in its own right.

Pike & Shotte is intended to cover the 16th and 17th Centuries and since I have figures and have enjoyed reading Black Powder and Last Argument of Kings I thought I would pick up a copy.  Pike & Shotte is very like Black Powder both in terms of content and layout.  It is a full stand alone ruleset (which seems very much like Black Powder) but with background for the Italian Wars, Tudor Wars, Thirty Years' War, English Civil Wars and the Wars of the Sun King.  It's hardback with 208 pages and has the same attractive presentation style as Black Powder with lots of eye candy.

The book kicks off providing an overview of "the Age of Pike & Shotte" covering the core troop types and basic tactics.  The next 80-odd pages covers the basic and advanced rules followed by discrete sections on each of the Wars it covers.  These latter sections contain a brief overview, special rules and one or two scenarios along with appropriate army lists.  The book is rounded out by a two page quick reference sheet (which can also be downloaded from Warlord's website).

I haven't really given the Black Powder rules a decent try as yet (having only played a single game) and given the similarity of these I suspect these will play the same albeit with certain period specific aspects (pike for example!).  I'm not sure whether these will end up being my chosen rules for this period (only some more games will tell) but the book is beautifully presented and will nicely grace your bookcase shelf or indeed your coffee table.

Amazon have the rules available for £19.50 (which is where I picked up my copy) - although they do have the wrong cover picture for some reason (pre-production artwork?) - I've popped a link below if you're interested:

Wednesday, 18 July 2012

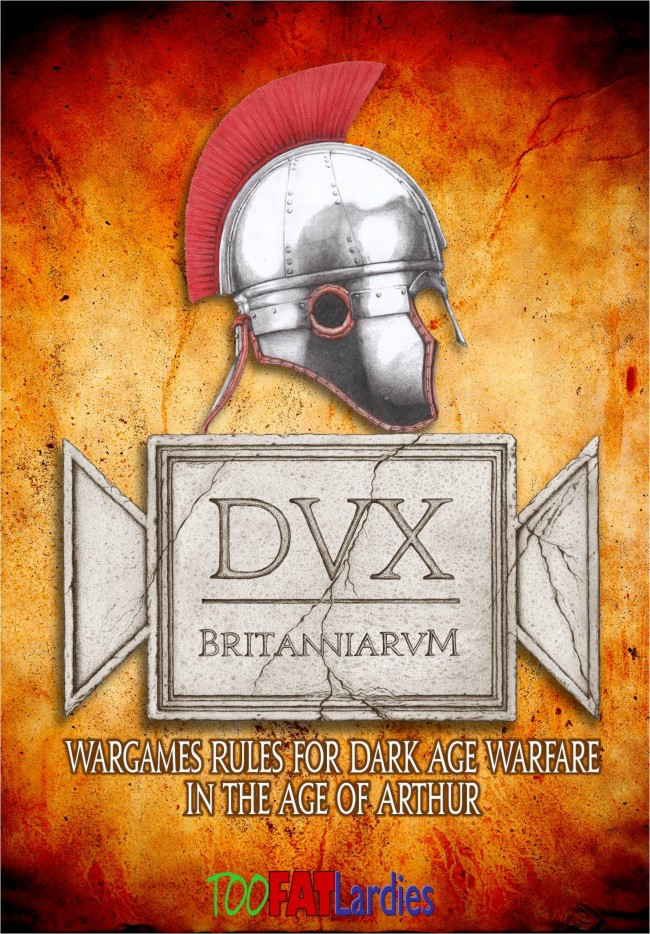
Dux Britannarium Available for Pre-Order

Too Fat Lardies have just announced that their new Dark Ages rules are now available to be pre-ordered.  The actual release date is slated to be 30 July.

The rules focus on the early Dark Age period (the Age of Arthur if you like) and are, as usual with the Lardies, card driven.  As with IABSM they will be selling professionally produced sets of cards to go with the rules (which will be normal playing card sized this time apparently).  The preview shots of the cards look rather nice and bundles of the rules and cards are available too.

People who pre-order can get hard copy and pdf along with the cards and the first 800 will get a limited edition "Arthur" figure too.

Richard Clark, the author, gives a good overview of the rules and, in particular, their easy to run campaign system on the latest Meeples & Miniatures podcast (episode 91).

Friday, 6 July 2012

First Look: John Company (Edition the Third)

Whilst looking around for a set of rules for larger Indian Mutiny games I came across John Company from The (Virtual) Armchair General.  A little research indicated that these might be suitable so I picked up a copy from Mutineer Miniatures along with a few additional packs for my next units.

John Company comes as a 196 page softback book with an optional graphics pack (which consists of colour versions of the back and white card and counter pages in the main book).  The colour covers contain back and white content in single column format with various tables, diagrams and contemporary illustrations.  The rules also come with 4 double sided quick reference sheets.

John Company is intended to cover all the campaigns of the Honourable East India Company from 1750 to 1860.  The smallest unit is an Infantry Battalion, Cavalry Regiment or Artillery Battery and the rules recommend a player for each Brigade (or roughly 50 figure bases).  The rules we written for 25mm miniatures with a ground scale of 1"=100' but are easily adapted to other scales.

The rules are card driven with Orders, Actions and Events decks.  Each turn you need to determine whether units are out of command (in which case they roll on the "Without Orders" to determine what actions they may have available).  The a card is drawn from the Orders deck for each General - you can then determine from the General's leadership rating how many orders he may give this turn.  Orders cards may also indicate that an Event has occurred, in which case a card is drawn from the Events deck.  Order counters are placed next to the relevant units.  There are 23 different orders which may be issued broken down into four classes - defensive, advancing, retiring and charge.  Certain orders are only available to certain unit types and some orders are "continuing" (i.e. they only need to be issued once).

Once orders have been placed those with charge orders will declare their charges and then these are resolved, with conflicting charges resolved in order of die rolls.  The remaining units in each Brigade need to wait until the Brigade's card has been drawn from the Action deck in order to activate and carry out their orders.

The rules make extensive use of the "resolve" test to determine what the units actually do within the context of their orders.  Each unit has an initial resolve level determined by their type.  Up to forty different modifiers can be applied to the initial resolve level, some positive but most negative, depending on the unit's condition and circumstances (some of the modifiers are dice rolls).  A table is then consulted cross referencing the resulting morale against the unit's order class and formation.  The results range from a bonus to movement through to rout.  This modified resolve is also used (after applying further modifiers) as the unit's fire factor which, compared to the numbers of basing firing, determines the result of small arms and artillery fire.


Melee can only occur in the event of a charge and once again the current resolve level is used.  Confrontation modifiers are applied and the units' resultant resolves compared.  This determines both the losses and the result of the close combat (if indeed the units come into contact).

There are sections on terrain, weather and optional rules for fatigue, artillery bombardment, sappers, confusion, night fighting and the like.  Army profiles are provided for the various combatants along with three introductory scenarios one each from the 1st Afghan War, 1st Sikh War and the Mutiny.  There are also designers notes, sections on figure sources, uniform guides and s list of battles fought by the HEIC.  The back of the book then has the pages of cards, counters, markers, templates etc.

The rules look interesting but the extensive use of modifiers may make them somewhat fiddly - only a tabletop game will determine that - but the approach makes them look like they should be good for solo play; however, the presentation of the rules could have really been improved.  I didn't really find the contents page layout as clear as it could have been.  The approach of embedding and explaining the modifiers within the main body of the rules does not help readability particularly when combined with the single column format and I'm sure having 4 "quick" reference sheets may not find favour with some.

Monday, 2 July 2012

WW2: Eviction Notice

Lieutenants Summers and Turnbull along with Sgt. Bunkum were faced with a problem.  Having only a few men they had to hold up a German attack supported by some armour!


Lt. Summers took a few men and took up a position in a cottage on the road.  He carefully concealed the bazooka team behind the bocage in a field to the rear.


Lt. Turnbull took the .30 cal and few men and occupied the house on the right but pushed a small group forward to cover the field adjacent to the road.


Whilst Sgt. Bunkum and the remaining men formed the reserve.

The German assault group entered the field, split into two teams and began to advance down the side of the crops.  They move cautiously until the reached the edge of the planting and peered around it.


They suddenly came under a hail of automatic fire from a US sub-machine gun, the lead man was hit and the others ducked back.  Meanwhile their other team was making good progress down the far side of the field.


On the other side of the road the other squad and their MG42 team advanced, reaching a hedge overlooking Lt. Summers' position.  They were spotted when they tried to push the LMG through the hedge and two of the men went down.  They were luckier with their next attempt and raked the garden wall with the MG42, hitting the Lieutenant.

With the wall being hammered with machine gun fire the other paratroopers weren't waiting around to be out flanked.  They dragged Summers behind the house and, picking him up rushed across a lane to the safety of a bocage rimmed field.  Predictable as ever the Germans flanked the US position and after throwing a couple of grenades in rushed it - only to find that the birds had flown.

On the other flank the Germans were pushing their way through the standing crops and then threw grenades towards the US position.  The US paratroopers were stunned but the Germans then rushed them and only one escaped back to Lt. Turnbull's position.


Germans couldn't advance against against the extra men and firepower.  And, on the other side of the field the other German team had been spotted from the house and came under heavy fire and were forced to withdraw after taking a couple of casualties.

At this point the German armour arrived.  The panzer clanked its way down the road right into sight of the US bazooka team.  Unfortunately the guy with the bazooka was a little jumpy and their first shot went wide (but wide enough for the tank crew not to have notice it).  They reloaded and had another go - a palpable hit but on the front armour - not enough to penetrate.  The tank's turret began to traverse their way so they threw themselves down behind the bocage bank just in time as the shot was short.


With both armour and infantry advancing on their position the team took the incapacitated Lt. Summers and withdrew to join up with Sgt. Bunkum.  The Germans took their position.


With further German reinforcements arriving the paratroopers withdrew but in the confusion two of the men were captured.

Sunday, 1 July 2012

First Look: Beneath the Lily Banners (2nd ed)

Having read through the first edition of Beneath the Lily Banners (BtLB) which I have had for quite some time, I thought they looked like an interesting proposition for my 15mm WSS project; however, a number of articles on the second edition indicated they were not only improved but were also clearer and better explained.  So based on that and a recommendation from Ray over at Don't Throw a 1, I decided to pick up a copy.

The rules are intended to cover the period 1660 to 1721 and can be used for either small engagements at 1:5 or larger ones at 1:40 ratios.  In the latter an 18 figure unit (3 x 6 figures) represents a battalion.

As I haven't played the first edition of BtLB properly I can't do a fair comparison between the two editions; however, the second edition is certainly thicker!  It's a full colour softback with around 117 pages (including some adverts), in a two column format.  The text is interspersed with various photos - mainly of lovely 28mm figures - some of which are annotated to explain the rules along with a few line drawings.


The rules are broken down into 11 sections, followed by some optional rules and events.  This is followed up by sections on the Great Northern War, Eastern Wars and King William's War providing various adjustments for those theatres.  A scenario, Steinbeke July 1692, follows along with sample armies, a painting guide, bibliography and roster sheets.  The rules also come with two separate double sided quick reference sheets (they aren't two copies of the same QRS).


The rules are well laid out and the explanations seem pretty clear.  The rules work on a simultaneous activation basis so placing orders is required.  You dice against the ability level of your commander (from Plodder to Gifted) to determine how many units you can order each turn; however, there is a mechanism to avoid being unable to order anything for more than a single turn.  The section on fighting in built up areas is a nice addition and something that is often skimped on in other rules and the random events provide a nice flavour (although these can be omitted if they're not your cup of tea).

Overall these are very nicely presented and look very interesting.  I am looking forward to actually trying them out on the table and see how they compare to Maurice.

Saturday, 30 June 2012

Highlanders

I thought I would post a couple of pictures of the first batch of Royalist Scots I have based up for my Montrose project.  The figures are Redoubt 28mm:


Sunday, 24 June 2012

WW2: Later British Infantry

Some more additions to my Crusader British Infantry along with some armoured support, this time aimed at later in the war:


Saturday, 16 June 2012

First Look: Muskets & Tomahawks

So whilst I was at the Broadside 2012 show I had a look at Muskets & Tomahawks from Studio Tomahawk (the chaps who brought us Saga).  I had been wondering about whether to get these rules since Salute 2012 and having read a few positive reviews I gave into temptation.

Muskets & Tomahawks is subtitled Skirmishes in North America during the 18th Century and is clearly aimed at the French & Indian War, the Indian Rebellions and the American War of Independence.  It's a 62 page paperback booklet with an accompanying deck of 45 cards. Whilst the covers are in colour the interior is black and white but all with a glossy finish.  The text is in a two column format interspersed with various examples and optional elements along with photographs, mainly of wargames figures and scenarios.

The rules are clearly laid out and relatively straightforward; there are a few clunky translations from the original French (including some bits that weren't) but these don't really detract from the whole.  The sequence of play is driven by the cards, the special feature here is that different troop types have different numbers of cards in the deck with differing numbers of actions permitted when they are drawn.  So Regulars will activate less frequently but have more actions per activation than Indians for example.  The card deck can also contain Event cards and other scenario or rule specific cards.  The standard approach does not include an end of turn card (like the Too Fat Lardies rules) although this is given as an optional rule.

Following the main rule sections is a scenario generator which contains three standard sizes of games, scenery set up and a set of simple but cleverly structured tables to provide an interesting mix of objectives for the two sides.  The game sizes are build around table size and point values (which isn't something I am usually keen on, but I can see how it is beneficial for a generating games on the night).

Next up is a section detailing the various combatants, a brief background and their characteristics.  This is followed by three appendices detailing the six scenario objectives, 31 side plots for individual officers (which will add an interesting dynamic to any scenario) and 36 random events.  Then finally there is a single page quick reference sheet.

The rules look very interesting to me and with Northstar producing a range of figures of accompany them I can see they are likely to provide a significant source of distraction from my current projects!

Monday, 11 June 2012

Broadside 2012 AAR

Yesterday I went down to Broadside 2012, the show in Sittingbourne hosted by the Milton Hundred Wargames Club.  This is only the show's second year and, for a local show, they had managed to attract a decent range of traders including some bigger names including (in no particular order) Warlord Games, TSS, Mongoose Publishing to name but a few.

My first port of call was Warlord Games where I had hoped to pick up some Bolt Action US Airborne figures.  Unfortunately they had only brought along 5 packs of the 57mm anti-tank gun and 3 of the 75 pack howitzer - no infantry at all.  Whilst the chap on the stand was very nice his only solution was for me to buy them on-line - which rather defeats the object of them coming to the show - doesn't it?

Fortunately things looked up from there.  I managed to pick up a copy of Muskets & Tomahawks - which looks interesting but may be rather too tempting a source of distraction - and some terrain bits from a couple of the other traders.

I had a good chat with Ray, from Don't Throw a 1, and The Angry Lurker whilst having a look at their Battle of Amiens 1918 game (which picked up a joint second - well done Postie's Rejects!)


I also bumped into Henry Hyde of Battlegames magazine which gave me a chance to thank him for the hours of enjoyment I have had listening to him and Neil Shuck on the View from the Veranda podcast!  It was an absolute pleasure to chat to him as he's exactly as he sounds on the podcast - a splendid chap!

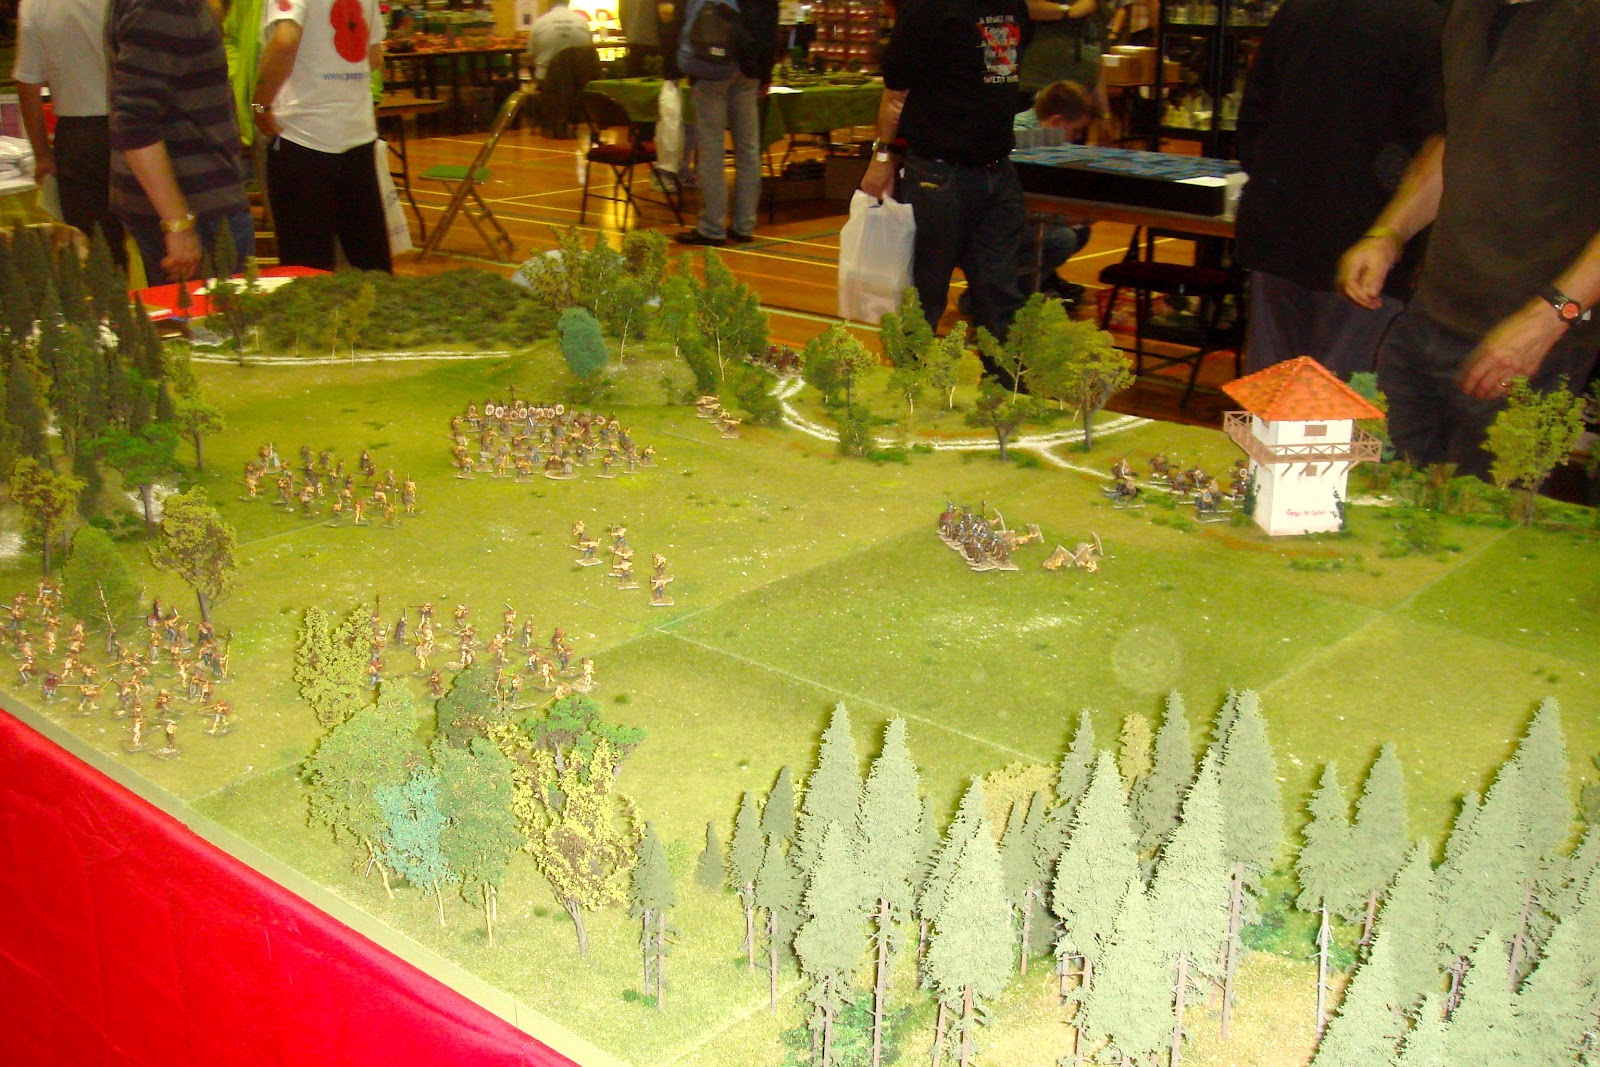
The show seemed pretty well attended and there were a nice selection of games - I've popped a couple of photos of the games which particularly caught my eye below:

The Battle of Benfleet - Southend Wargames Club


Romani ite Domum - Shepway Wargames Club


Maori War - Skirmish Wargames


Operation Deadstick - Maidstone Wargames Society


The Operation Deadstick game picked up first place and is making me think about 6mm again as it really looked the part.

All in all it was another good show this year and I am looking forward to this being a permanent fixture in my show calendar.

Saturday, 9 June 2012

WW2: Sound of the Guns

After avoiding the unwelcome attention of the German flak unit, Lt. Summers and Sgt. Bunkum worked their way towards the sound of the guns.  On their way they met up with another two groups of paratroopers including a Lieutenant.  Their way ahead was blocked by an emplaced German machine gun and they needed organising to deal with it and quickly clear the nearby buildings in order to secure the area.


Summers and Bunkum quickly organised the men into two groups, one to advance down each flank.  Unbeknownst to the Americans, a second German MG team were just moving into position behind the first.


Lt. Summers led his team down the side of one of the fields using the bocage as cover.


Meanwhile Sgt. Bunkum (guiding the other Lt.) cleared the first building, advanced across the small field and then across the first lane.


Everything was going to plan until Summers led his men at the double across some open ground and was spotted by one of the German MG teams.  The MG42 opened up but fortunately Summers and his group were close enough to a stone wall to throw themselves behind it and out of the line of fire.  As a result the Germans redeployed their second MG team.


Both Summers and Bunkum organised their men into two groups, one to assault the buildings and the second to provide covering fire.  Clearing the first couple of buildings was a textbook exercise but they were unoccupied.

Bunkum managed to get his group into the building adjacent to the one occupied by the German MGs. They prepared their grenades and popped up to throw them.  Despite the hail of bullets the grenades were thrown but a couple of men went down including Bunkum - fortunately he was as Hard as Nails and it turned out only to be a flesh wound.  The grenades despatched the first MG team.

Meanwhile, another group of paratroopers advancing toward the MG fire, arrived on the flank (reinforcement roll).  They decided to move forward and assault the building with the MG teams in it.


Their first group was immediately spotted by the second MG team and came under heavy fire taking two casualties including their senior NCO.  Their second group had moved to the rear of the building and were able to rush across to it without being spotted.  Grenades at the ready they dropped them through the windows and rushed in following the explosions.  Unfortunately the MG teams were on the first floor and protected by the building so the paratroopers moved into close combat.  Despite their physical fitness and training the Germans were clearly combat veterans as they subdued all four of them.

With the MG team now resuming firing, Bunkum shouted across the street to Summers' team, who were now in position.  One of his team had been a Ball Player before joining up and he pitched the grenade right onto the German team killing them both.  Bunkum's group then advanced and secured the building.


Wednesday, 6 June 2012

WW2: Flash and Thunder

"They jumped much too low from planes that were flying much too fast.  They were carrying far too much equipment and using an untested technique that turned out to be a major mistake.  As they left the plane, the leg bags tore loose and hurtled to the ground, in nearly every case never to be seen again.  Simultaneously the prop blast tossed them this way and that."
Band of Brothers by Stephen E Ambrose 
So when Sgt. Don Bunkum hit the ground he found himself alone in the middle of a field surrounded by thick hedgerows.  He decided to move to the nearest edge of the field and after forcing his way through the undergrowth found himself looking into a small lane.  He spotted what looked to be an equipment bundle but to his dismay it was empty.


Meanwhile, the nearby German anti-aircraft unit were enjoying a well earned break after all the initial excitement.


Hearing noises to his left Sgt. Bunkum decided to follow the field edge to investigate.  He quickly identified that there was movement on the other side of the bocage and, once again, began to force his way through it.

On the other side was Lt. Summers and two other men he didn't recognise.  They had obviously attracted the attention of the flak unit as a small patrol was advancing across the field towards the hedgerow behind which they were concealed.


Lt. Summers ordered the men to open fire and soon a hail of bullets rained down on the advancing Germans.


Two of their men fell in the first burst but their NCO returned fire with his SMG and one of the paras fell with the other ducking back behind the earthen bank of the bocage; however, Lt. Summers clearly wasn't phased and returned first cutting the German NCO down and sending the remaining member of the patrol scurrying back to the flak unit.

Having now stirred up a hornets nest and seeing the four barrelled flak gun being rotated in their direction the paras decided it was high time to withdraw and slipped away across the field before all hell broke loose.


The combination of the anniversary of D-Day and the purchase of Blood Upon the Risers was irresistible and so I set up the first scenario for a solo game this morning.  I rolled up my character who turned out to be a Rep 5 NCO who was a Born Leader and as Hard as Nails.  He quickly became the no nonsense Sergeant Don Bunkum.

The first scenario has you starting with only your star who is trying to hook up with his unit.  You randomly determine where you land on the table which has plenty of bocage, a German anti-aircraft unit and two markers or PEFs (Possible Enemy Forces).  The first turned out to be an equipment bundle which was, unfortunately, empty.  The second split into two which ultimately turned out to be the German patrol and the other US paras.

I was pretty pleased with the way the game turned out.  I'm looking forward to the next game now...