Saturday, 20 October 2012

Door to Door

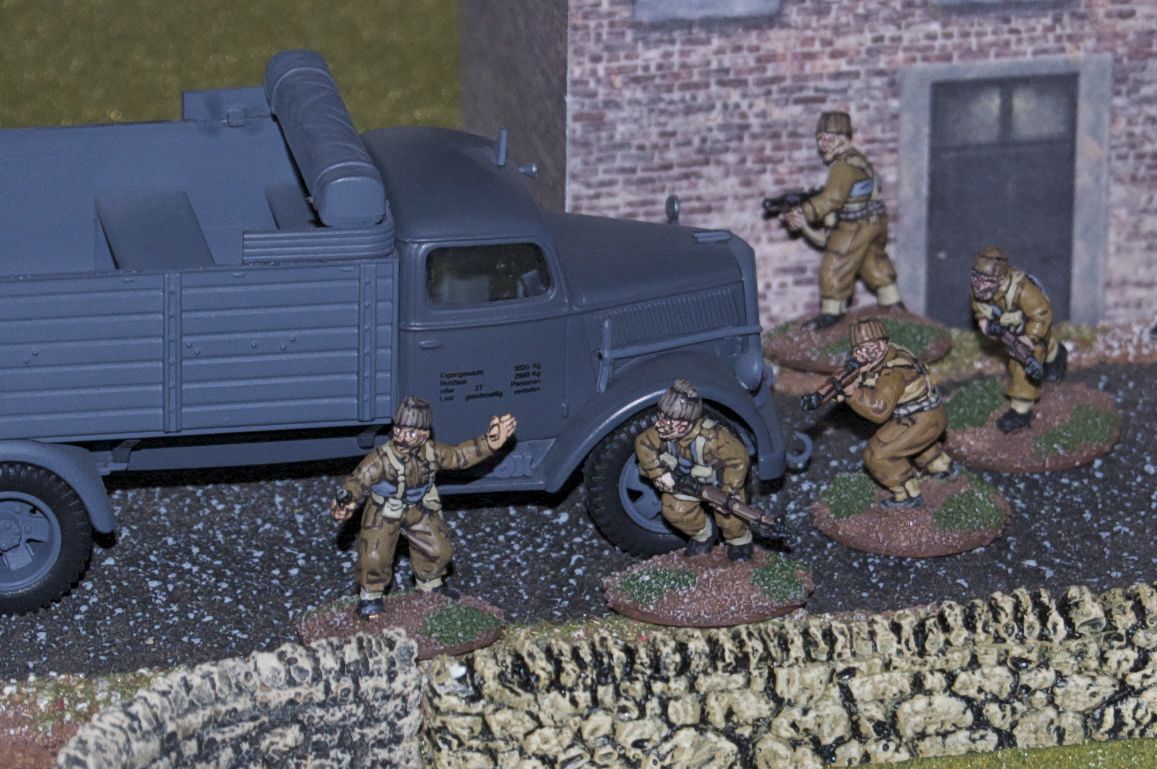
Last Saturday I made it down to the club and put on a 20mm World War II game using Nuts! by Two Hour Wargames.

1000 6 June 1944 - South East of Chef-du-Pont, France

Men from all units of the 507th and some from the 508th PIR reached the railroad station in the center of Chef-du-Pont with little opposition. A small but important bridge is to the southeast. Whilst the remainder of the force clears the town, you have been sent to clear the the road to the southeast of the station.

The players had two squads supplemented later by a third and their objective was to clear the buildings and secure the road so the main force could advance.


The first two squad decided to concentrate and advance on the right flank.  They successfully crossed the crop field and hunkered down behind the hedgerow.  As a few were pushing their way through to observe they were spotted by a lone German rifleman who opened fire.  He missed and quickly ducked back into cover when the paras returned fire.  One group then rushed across the road to the churchyard wall.

One man was sent to recon the church and found nothing but when another group popped up to take a look at the adjacent houses they came under fire again from the rooftop sniper; however, this time a BAR was in place and swept the German's window silencing the threat.  They then advanced into the church.


With Germans obviously occupying some of the buildings on this side of the road, one squad decided to rush across the main road to try to outflank them.  Unfortunately this took them straight across the front of an MG42 team emplaced on the cafe balcony at the far end of the village.


The charge was led by the man carrying the .30 cal and he was hit.  The man carrying the tripod thought better of the advance and darted back to the cover of the field but a couple of the others made it across safely.  With their only machine gun now stranded in the middle of a road swept by enemy fire things were not looking good.


The other groups continued their advance, one squad through the woods to the rear of the buildings and the other to try to clear the first building, the one occupied by the sniper.  One man rushed forward, primed his grenade and tried to throw it through the nearest window.  Unfortunately it ricocheted back and landed nearby!  He clumsily threw himself to one side but, fortunately, was only stunned by the blast.  The remainder of his team tried a more direct approach and assaulted the building neutralising the  occupants.


The squad advancing through the woods moved into position to cover both the buildings and engage the MG team in the cafe.  Unfortunately they were spotted and came under heavy fire, taking several casualties; however, whilst the MG42 was reloading they managed to neutralise its crew.  Two Germans, reluctant to surrender their primary weapon, crept out of the cafe under cover and took over the MG.  Meanwhile the other buildings were slowly being cleared.

The MG42 came back into action but despite cutting down several of the paras the new crew came under heavy fire and suffered the same fate as the first.  The Germans were clearly coming off worst in the firefights, largely due to their poorer quality troops and several casualties were captured as the next building was cleared.

Having heard the exchanges of a fire a third squad had been sent to support the first two and they were slowly advancing down the left flank.  Advancing through an orchard they came under fire and took a casualty but their response silenced the opposition.  An aggressive assault on the building secured it, despite the grenade blasts causing some structural damage.  Moving forward to observe the road, this group spotted and engaged a lone German rushing from one of the buildings about to be assaulted on the other side across to the cafe.  Despite several bursts he managed to throw himself through the open cafe door and out of sight.

This firing gave the assaulting paras pause and luckily they spotted the fact the building they were about to enter had been booby trapped.  A luck escape.

A small group of Germans now engaged the squad on the left flank but, after several exchanges of fire, they were badly mauled and withdrew.

With the upper hand now moving to the Americans, things were looking up when a disturbing noise was heard from the road into the village - the round of tracks!

A Panzer IV and a section of Germans had been sent to support the section holding the village.


The German tank advanced slowly with the infantry split to both the right and the left of it.


The group on the left had a nasty shock as they were outflanked by some paras who soon put paid to them.


The squad on the left flank prepared themselves for the assault but when the tank swung into view the first man's nerve broke and he ran.  He fell in hail of bullets from the tank's machine guns.  The NCO, however, was made of sterner stuff and he threw his Gammon grenade at the tank.  It was a desperate move but his aim was spectacular and the explosion brought the tank to a grinding halt as it burst into flames.

Several exchanges of grenades and automatic fire between the infantry caused casualties on both sides but with their armour support destroyed the Germans decided to withdraw and the engagement went to the Americans.

Sunday, 14 October 2012

SELWG 2012

So SELWG has come and gone for another year.  Once again I travelled across to Crystal Palace, although this time more than ever to catch up with people rather than to fill my shopping list.

Overall it was very similar to previous years, perhaps a little less well attended (that's just a guess though) but still quite a few there.  Unfortunately a couple of the traders I would have bought from dropped out late on but there was still a decent selection there.

It was quite hot - especially in the cafe area which was like a greenhouse - but I shouldn't really complain given we haven't seen too much of the sun recently.

I managed to catch up with some old friends, plus those legends of the blogosphere Ray from Don't Throw a One and The Angry Lurker who once again showed tremendous forbearance with a cheeky blighter and amateur blogger like me (although I would have liked to have seen the poolside reaction to their manly frames in speedos - all those young ladies swooning!)

I also managed to catch up with game designer, regular celebrity guest on Meeples & Miniatures and all round top chap, Rich Jones - it was great to be able to a face to the name!

There were some nice looking games at the show, although I did recognise a couple from Broadside.  No pictures unfortunately as the wife went off with both our cameras by mistake.

I didn't pick up to much in the way of toys but did get a couple of the 15mm 4Ground buildings - so I'll be seeing how assembling them compares to the larger 28mm ones and then posting my experiences.   I also picked up another squad of Bolt Action 28mm US Airborne from Warlord and another book to add to my Marlburian collection.   Hopefully it will help me keep up the focus I need to actually get the project to the table.

Overall another worthwhile outing and I look forward to next year's show.  I suspect SELWG will be my last show for 2012 - so roll on Cavalier 2013 (assuming it's on - as TWWS haven't posted anything yet).

Sunday, 30 September 2012

4Ground Damaged Detached House

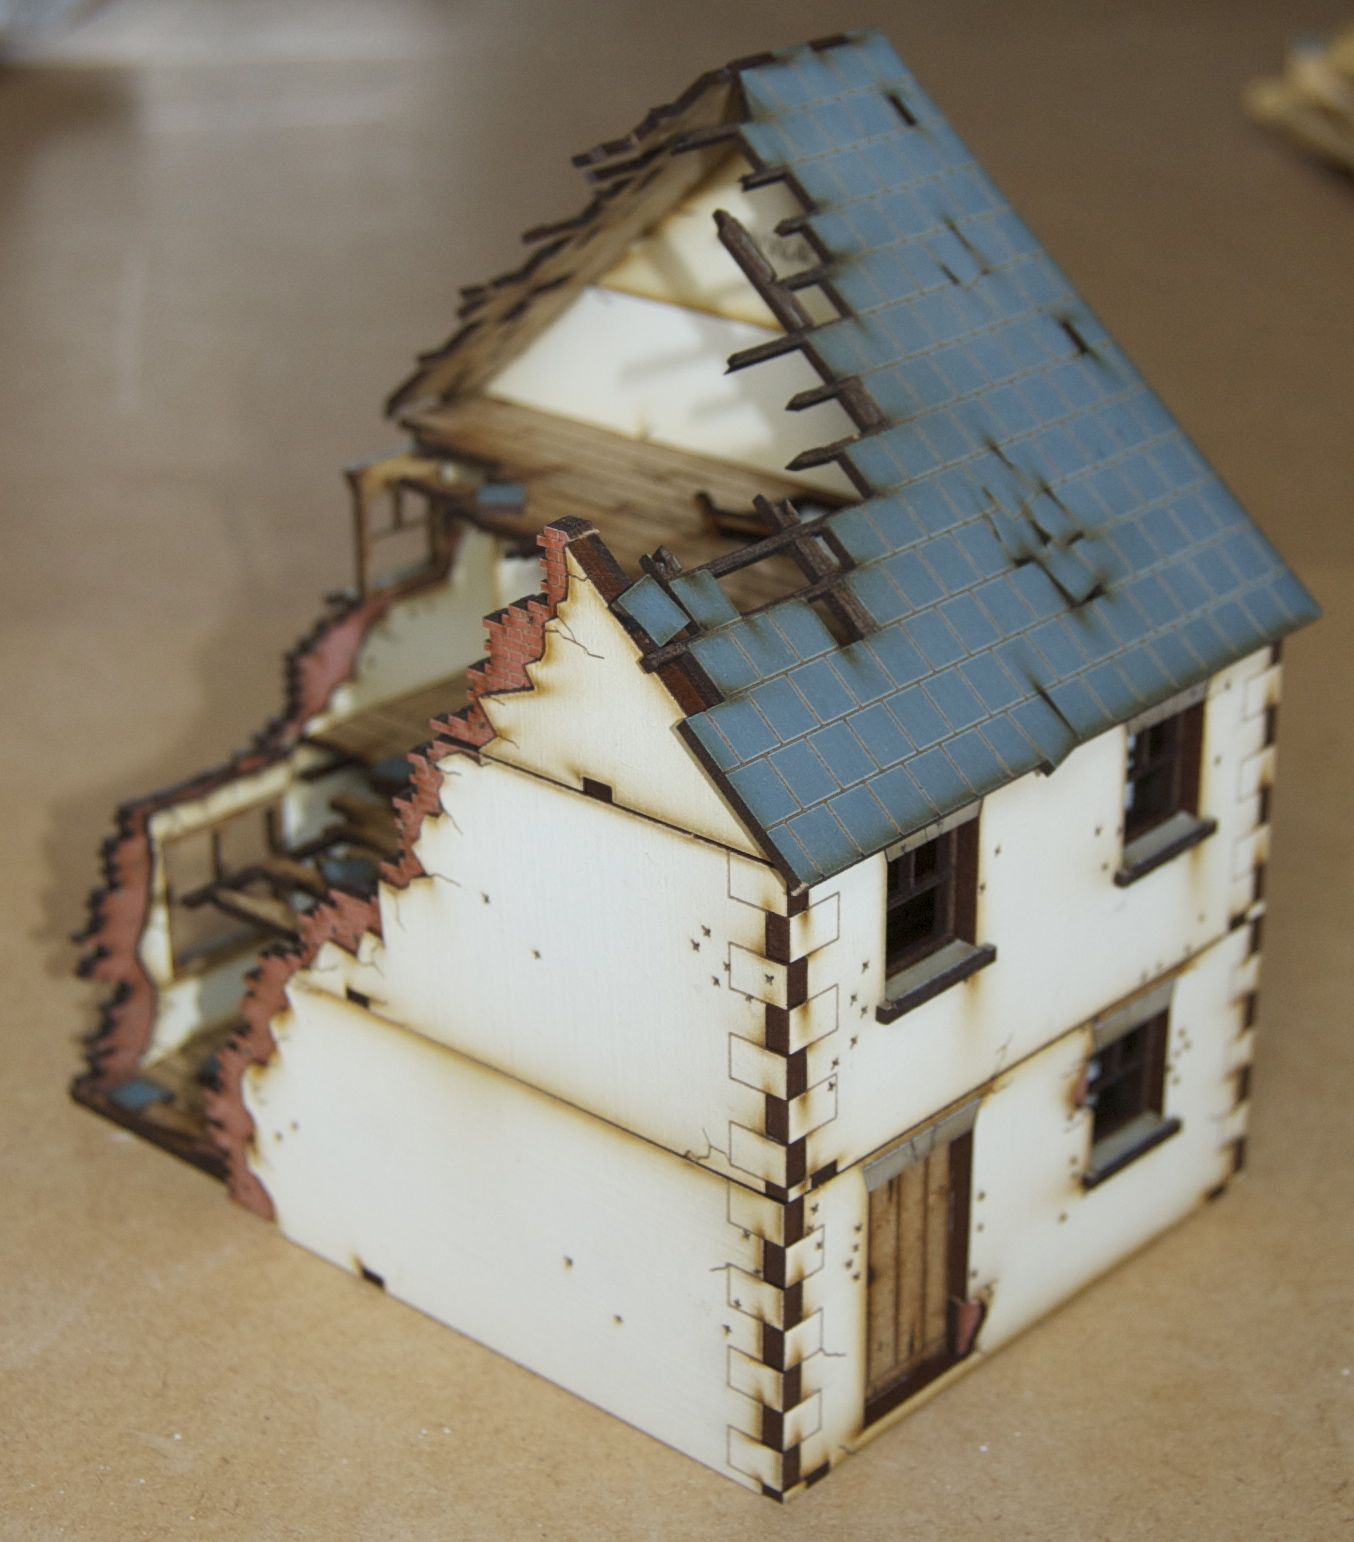
I've just finished putting together the 4Ground damaged detached house.  The construction is similar to the standard detached house but is a little fiddlier in places due to the additional damaged elements (the extra exposed brickwork for example) although not dramatically so.  The set comes with some additional slates, bricks and floorboards which you can use to scatter over the floors.

Overall I think the finished house works really well and I have only one small gripe.  4Ground have their website URL printed on one of the components.  It's the same with the standard house; however, in the standard house you can't see it - this isn't true for the damaged one and it does slightly detract - so I'll be doing some covering up there.


Here's the angle which shows the offending advertising:


And finally alongside the standard house:

Saturday, 29 September 2012

First Look: Battle for Liberation

Having been very pleased with the latest version of I Ain't Been Shot Mum from the Too Fat Lardies, I thought I would pick up a copy of their first rerelease of information for it.  Battle for Liberation is sub-titled A Handbook for the War in the West 1943-45 and contains an overview and orders of battle for the main forces in the theatre along with details of the available support.

The supplement is available as a 99 page pdf and, after a couple of pages of introduction covers the British & Commonwealth, US, French, German and Italian forces of the period including the main types of units and troops.

Each nationality begins with a brief introduction followed by a single page detailing each type of company, then a couple of pages covering possible battalion, divisional and other support which might be available.  Each pages is neatly split into various colour coded boxes to distinguish between the various units making it clear whether these are on table or off table elements.  Tables are then provided to give stats for the various troops, vehicles and heavy weapons  along with any special rules and an outline of which additional cards may be applicable.

Each section covers the various unit type - for the British & Commonwealth this includes the Rifle Company, the Reconnaissance Squadron, the Tank Brigade Squadron, the Armoured Division Squadron, the Motor Company, the Parachute Company, the Air Landing Company and the Commando Assault Troop.

After covering the ground forces there is a short section providing tables and rules to determine the availability and effectiveness of air support.  This is followed by short sections on using smoke with 2 inch mortars, how to manage supply for airborne operations and a final page of credits.

The presentation style is very similar to the main IABSM rule book, the text is clearly laid out and interspersed by various photographs and relevant diagrams and everything is easy to find and understand.

Some may think the £10 price tag high (especially when compared to some previous Lardies' offerings) but I think this needs to be considered against the quality of the production and the amount of research which has clearly gone into producing the supplement.  This is a very useful addition and I am looking forward to future material.

4Ground Detached House Build

Having sold my old copy of CDII (largely because I can't remember the last time I used it) I decided to put the money towards getting some of the new 4Ground pre-painted mdf buildings.  I was just going to get one as a trial but in the end I decided to pick up the 28mm Pre-Painted Detached House Set which contains both a complete and a damaged detached house at a discount (and including postage).  The service from 4Ground was excellent and the buildings arrived within 48 hours of me ordering them.


I thought I would assemble the undamaged version first.  It comes with a number of sprues each containing one colour of component.


The parts separate fairly easily from the sprues, or though I would recommend taking some care as some are delicate or tricky to get apart due to the size.  I would suggest only detaching the parts as you need them as the sprues have the part labels not the parts themselves and some are quite similar.

The 4Ground instruction sheet is reasonably clear, although a couple of the parts are mislabelled which is a little unfortunate (although it's easy enough to work out).

I started by putting together the ground floor.  The walls are made up of an outer and an inner part (so only one side of each has the final finish on it.  The outer sections fit onto small lugs on the sides of the floor and to each other by interlacing the quoin stones.  This provides a decent fit (I would recommend trying a dry fit first to make sure everything goes together before gluing) and they suggest holding it all together with a couple of rubber bands whilst the glue dries.  The inner wall sections slide down inside the outer ones and, once glued together, provide a pretty sturdy structure.


The staircase is a little more fiddly as each step is made up of to pieces and the frame also has to be assembled.  But when it's completed it is nice and rigid.


The stair case then fits into the slots in the ground floor.


Then the interior walls forming the front and back rooms can be glued into place (they are two piece section like the outer walls).


And then the ones forming the hallway.


The building already comes with the marks of having seen some conflict but you can choose to damage it some more (and also provide loop holes in the walls).  The pictures below show the wall as it comes out of the sprue and after the hole has been popped out.


The first floor goes together like the ground floor.  Here's the outer parts of the outer walls in place.


And now with the inner parts in place.


Followed by the dividing walls.


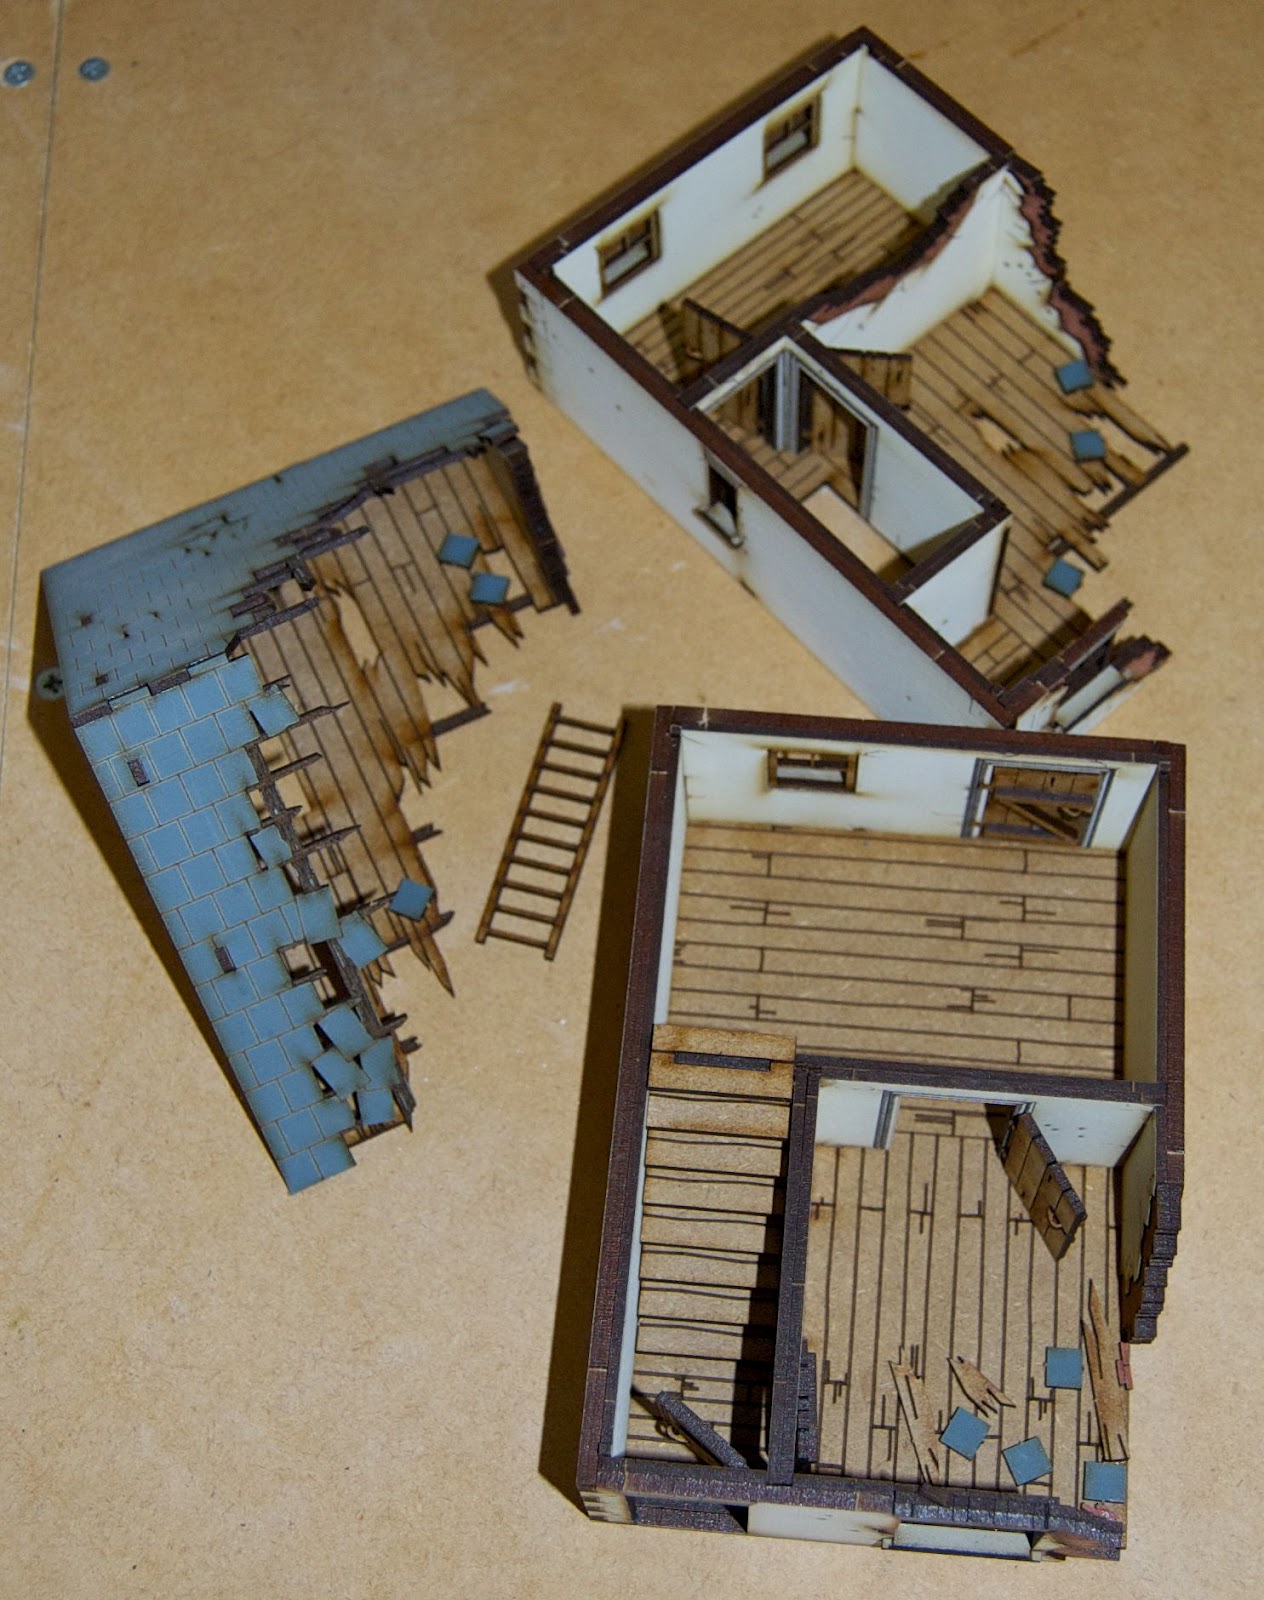
The roof is constructed in two parts to enable figures to be placed in the attic.  It can also be damaged by removing some pre-cut tile sections and glueing some roof timbers in behind.  Here's the inside of the top section.


And beside it the lower section showing the attic floor.  I used some bulldog clips to keep the two part sides of the roof together as they had a habit of coming apart whilst the glue was drying.


With the main structure completed, it's time to assemble the doors.  These come in three parts - the door itself, the cross members and the handles.  A completed one is on the lower left below.


Then there are the exposed brick sections to fill in the holes made earlier and the window frames.


As you can see above you could choose not to have the damaged section loopholed and even after you have removed the centre brickwork (below) you can still pop it back in later if you like (assuming you have remembered where you put the bits (they're rather small).  The same is true for the roof tiles I removed by the way.


Finally you need to assemble the chimney and glue in the stone lintels above the door and window openings, the window cills and the bargeboards under the roof.

So here's the final product:


I'm very pleased with it and it looks a good compromise between looks and practicality.  The upper floors are kept in place with small lugs protruding from the floor below so they won't be knocked off easily and they even include a ladder to get up to the attic.

The house design is nicely generic so it would not look out of place for a wide variety of countries for quite a decent time range too.

I'm now looking forward to putting the damaged one together and I'll report back when that's done.

Monday, 24 September 2012

JWS Reunion 2012 Photos

And now some more photos of the weekend:

Tiger Hunt

Our final game of the weekend was some more World War 2 action.  This time we were in France searching through the bocage for a Tiger!  Each of us had a Sherman and a few infantry and our job was to find, corner and destroy one of the most dangerous predators of the period, a Panzerkampfwagen VI.  Fortunately we had a couple of spare tanks (we were going to need them) and a Sherman Firefly.


As you might expect the terrain was pretty congested, with plenty of fields and hedges, all surrounding a town probably held by the enemy.  Things started reasonably well with us breaking through the first couple of hedges and no encountering anything more dangerous than some chickens and a local farmer.  Then the Firefly, which we had positioned to cover the road, spotted the Tiger - it was lucky it was the Firefly as we knew none of our Shermans would penetrate its armour from the front.  First shot was a direct hit and the "Tiger" brewed up - of course it was at this point we spotted it wasn't the Tiger but actually a Panzer IV with zimmerit and skirts.


Disappointed we carried on - then the tank in front of me pushed through the hedgeline into the next field right in front of an anti-tank team - it exploded and I ordered the driver to get the hell out of there.  In a panic he reversed to the left and we burst out of the field straight into the road.  To make matters worse the Tiger had already been there, burst a culvert and flooded the road.  Fortunately we didn't bog down but were forced to back across into the field on the other side!

I decided to turn my tank around and breakthrough into an orchard; however, this one didn't just contain some trees!  Not only was it mined but a group of German infantry complete with a panzerfaust was in there too!  I tried backing out but was hit and had to bail out.  One of my colleagues seeing my predicament decided to turn left into a field with a German armoured car in it.  Of course that wasn't much of a problem.


I switched over to another Sherman and started all over again.  Meanwhile the other two were slowly clearing the countryside field by field.  Unfortunately the blooming Tiger wasn't staying still for us to find it!  After coming under an artillery barrage and losing all my infantry I gave up the search but on my way back I turned into the road and found the Tiger hiding behind the wrecked Panzer IV - I had had exposed my flank armour to him!


He wasn't going to miss an opportunity like that I lost tank number two.

In the end the Tiger got away and now we know why it seemed to take 5 Shermans to get a single one.

Ancient (Greek) Heroes

For our next game Lenin decided to do something different - Greek Myth.  This had been intended as the final evening game but with one chap dropping out we moved it up to number three in the schedule.    It was a chance to try the Ancient Heroes skirmish rules from Foundry's Tribes of Legends books.

The scenario was relatively straightforward, each of us had a small but varied band wanting undisputed control of the temple in the centre of the table.  The one who could hold it for three turns was the winner.  First we had to decide whether we were going to be Noble, Drunken or Mischievous - that determined which character types we could take from humans, centaurs, satyrs and harpies.  Each type has different fighting skill, armour and special abilities.


I chose a drunken band and ended up with a mix of centaurs and satyrs who had an unfortunate habit of staggering towards the nearest vineyard at the end of each turn!


As it was my centaur was the first to enter the temple but could I hold it?


Unfortunately, the answer was no.  I ended up fighting off two other bands but was so weakened that the final band was triumphant - well at least they were Amazons!

Action at the Farm Moedwil

Our second game allowed us to venture into the Boer War.

Colonel Kekewich's column, chasing the guerillas, has set up a base camp at the Farm Moedwil whilst reconnoitering the countryside to the west of Johannesburg.  The 27th Devonshires are on picket duty at 05:00 when they spot movement across the veldt.


Warning shots are fired before the Boers fall on the ill prepared pickets and the camp stands to.  The Sherwood Foresters gather around their tents awaiting orders.


The Boers have come in force and their accurate fire takes it's toll on the British troops.  They advance across the river and take up positions using the bank as cover.


But the massed volleys from the British lines takes it toll and some of the Boers fall back to the rocky ground.  Unfortunately for the British they keep up the well aimed rifle fire and more men fall.  A couple of units fall back to take cover in the farm buildings.


In the end the Boer attack stalls but with the British having taken heavy casualties.

Operation Cauldron - Take 2

This weekend I hosted a get together of a few old wargaming chums and we each put on a game. Since I was the host it was easy for me to set my game up early and so I went first.

As it's the 70th anniversary of Operation Jubilee I thought it would be appropriate to put on part of the raid. As I don't yet have quite enough landing craft, tanks, figures or terrain to manage the main assault I decided to focus on one of the associated Commando raids.

I picked Operation Cauldron, the assault on Hess battery (not least because I'd already done a smaller version of it!). Since I was doing the game in 28mm I couldn't quite fit the landing and the battery all on a single table so I produced a slightly compressed section of the battery itself.


A couple of the chaps took command of the F Troop with the objective of disabling the two guns at one end of the battery.  Meanwhile Lenin had the unenviable task of holding them off until reinforcements could arrive.

F Troops first challenge was breaching the barbed wire without attracting the attention of the MG34 post guarding the road entrance.


Unfortunately they were spotted and came under a hail of fire.  The first group ducked back out of the line of fire whilst the bren gun team engaged the german position.  Meanwhile another group were advancing on the wire with bangalore torpedoes.


The heavy fire from the MG34 caused it to run out of ammo and whilst they were changing belts the Commandos charged in an threw grenades over the germans' sandbags.  Having taken out the first obstacle the two groups advanced separately towards the buildings.  Unluckily the first group was spotted by yet another german machine gun position and were forced to take cover again.  Only this time the bren gunner went down in an exposed position and it took several attempts to pull him to safety along with his weapon.

The other group moved steadily forward until they were engaged by german rifle and sub-machine gun fire.  With the team ducking for cover, the Captain rushed across the street and threw a grenade threw the germans' open window eliminating the threat.  This group could then continue to advance.


Up until this point the german flak tower had be preoccupied with the RAF aircraft flying overhead and  A Troop who were providing covering fire from the other side of the battery.

Once again the advance was held up by an advancing german section but they were quickly dealt with and their machine gun, which was covering the road, was knocked out by a couple of 2 inch mortar rounds from A Troop.

When the flak tower spotted the Commandos it came under fire from the bren team they had left covering it and whilst they were throwing themselves into cover they came under fire from the A Troop mortar.

With most of the German defenders neutralised the raiders moved forward to their objectives, blew them and withdrew through the fence line covered by A Troop to the extraction point no Orange Beach 1.

Friday, 14 September 2012

Wargaming Weekend - The Photos

I am sorry it has taken so long to publish the photos from last month's gaming weekend - my only excuse is that I've been very busy with work and planning another weekend!  So expect more posts and photos soon.  In the meantime here are the ones from last time: