This was the first outing for the Freikorps und Spartacist rules by Stephen Danes using my Empress figures. The game covers skirmishes during and following the German Revolution which saw the right and left political movements taking up arms across parts of Germany.
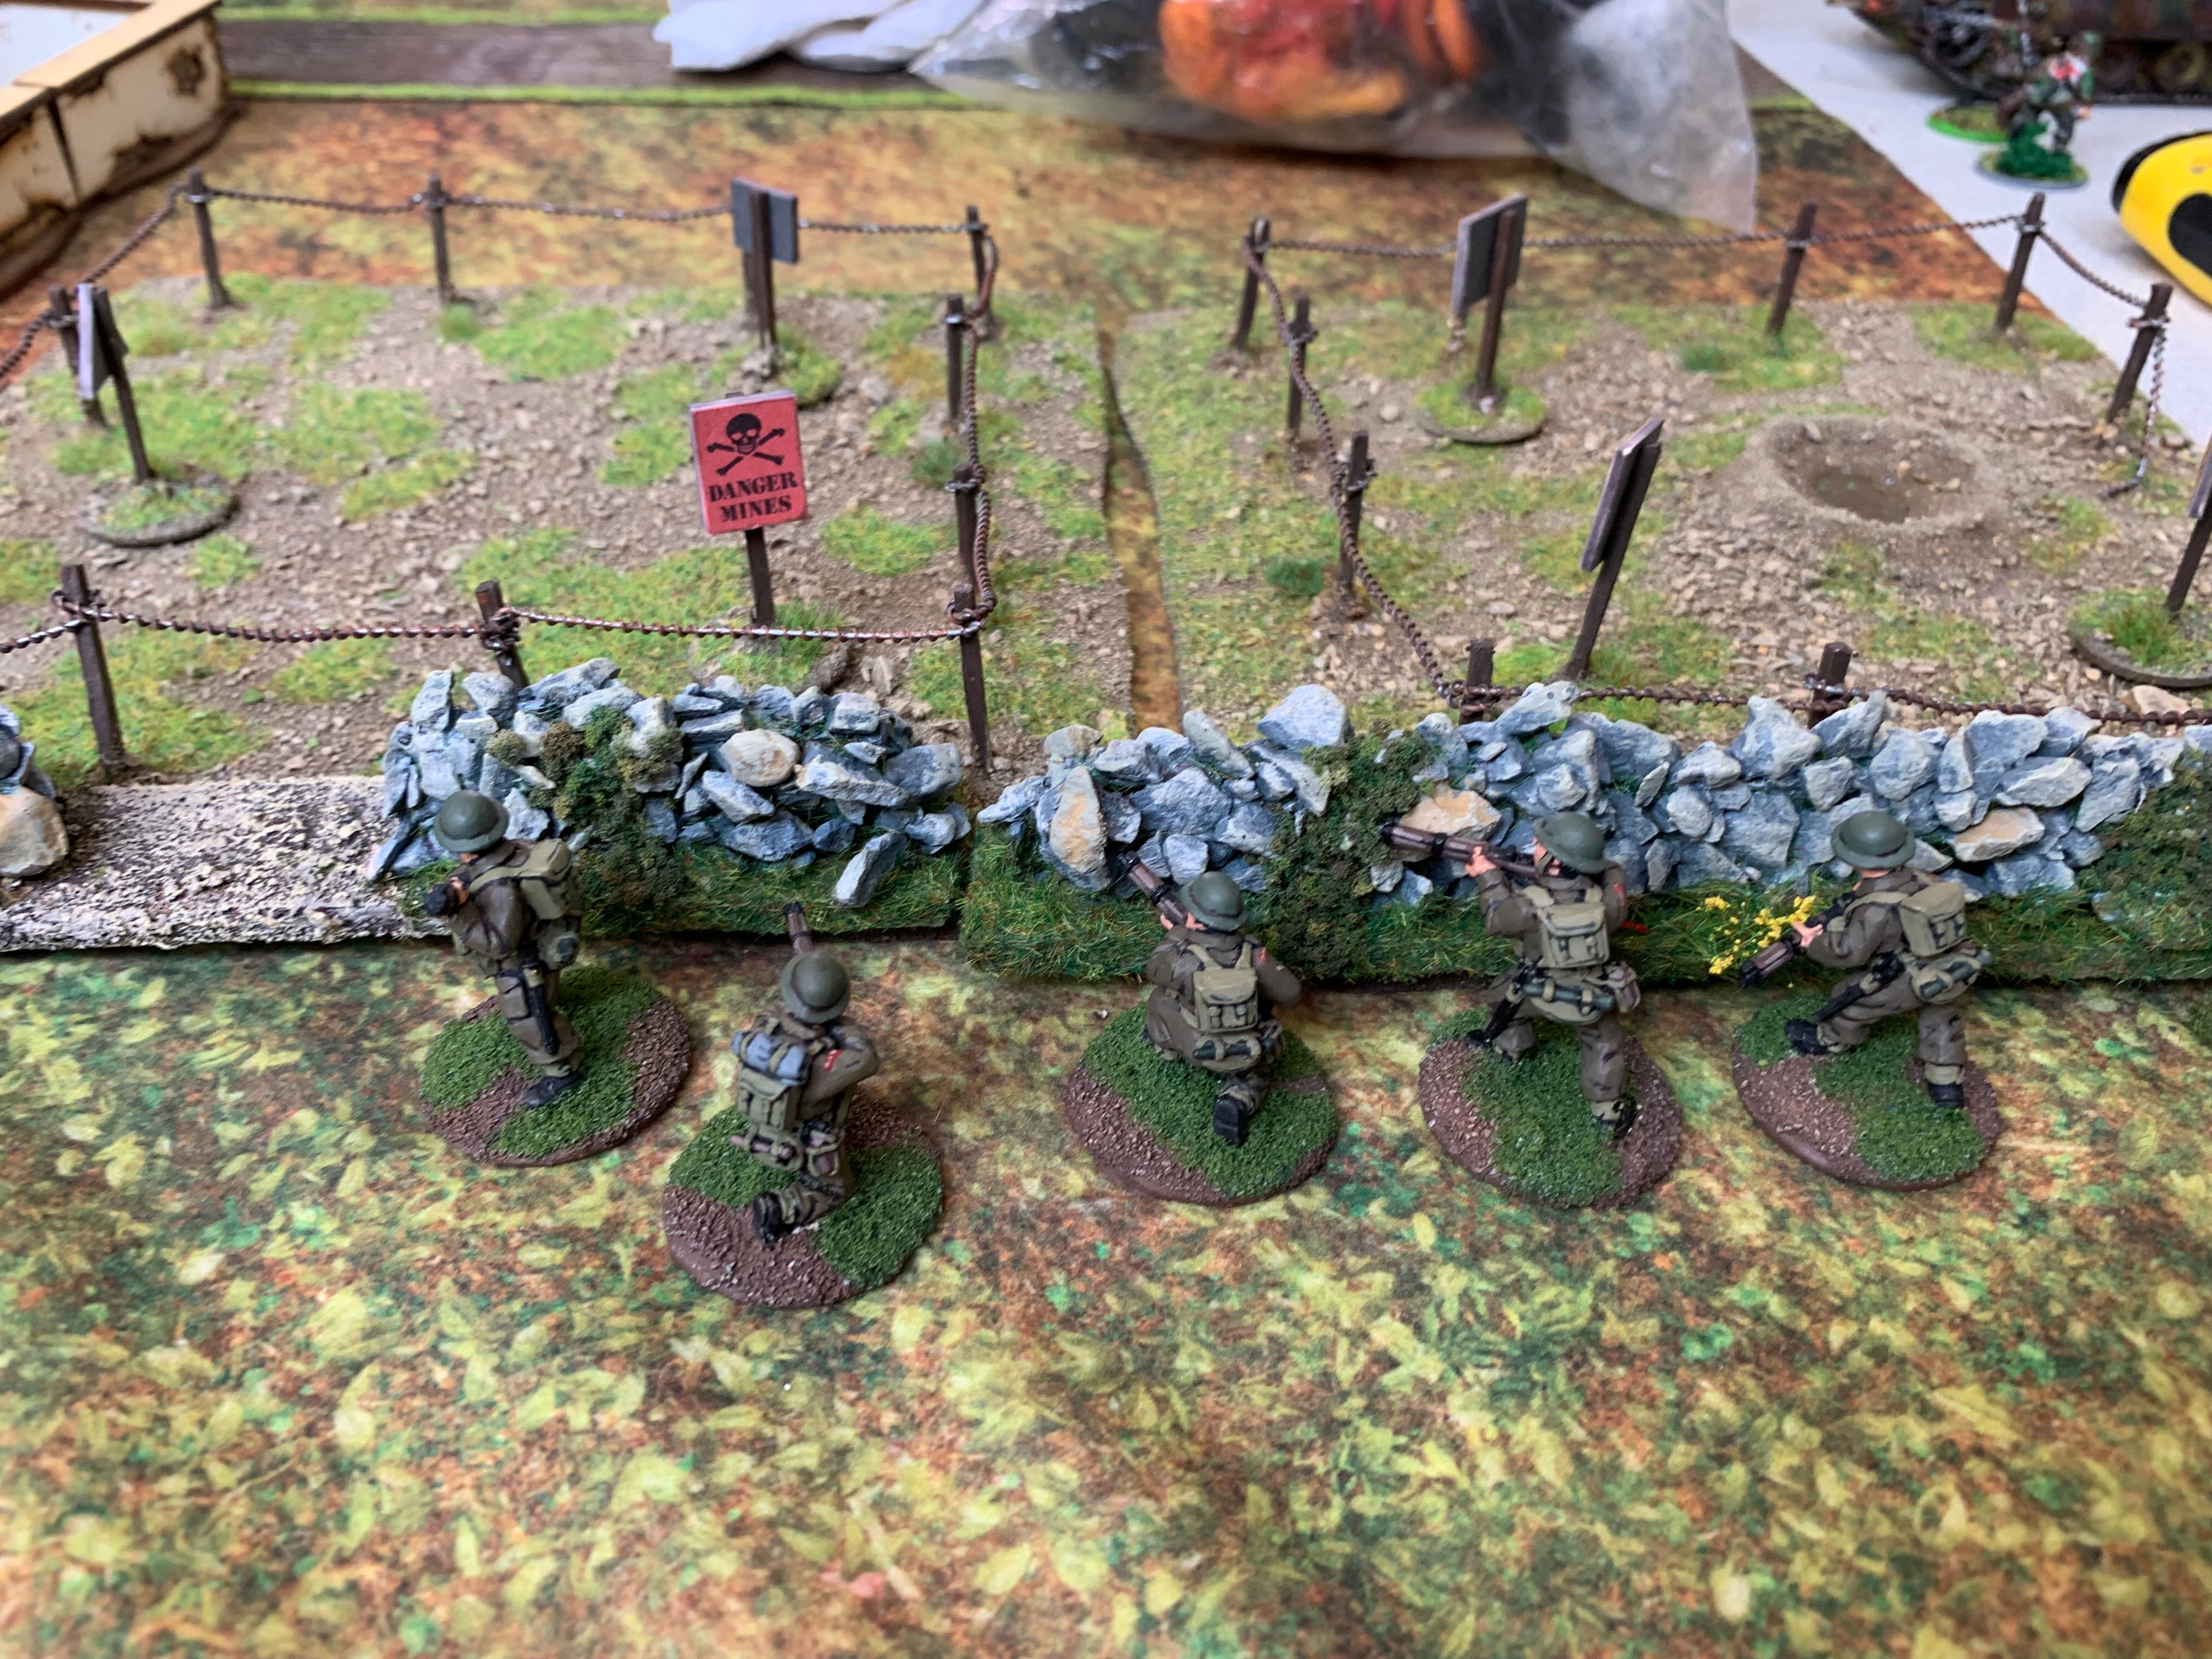
One of the key elements of the game is the asymmetric deployment which helps to represent the different nature of the two sides (hence the markers you will see in some of the pictures. There are also groups of civilians who can become hostile to the Freikorps if roused.
The two factions consisted of Freikorps and armed police facing off against Spartacists and red sailors. I took command of the Freikorps but was seriously hampered by an unlucky roll during the deployment phase with only my machine gun unit starting on the table whilst the Spartacists managed to deploy their entire force. Fortunately I did get some reinforcements during the game but I never quite recovered (I am contemplating some house ruling here if I play this with more than two players).
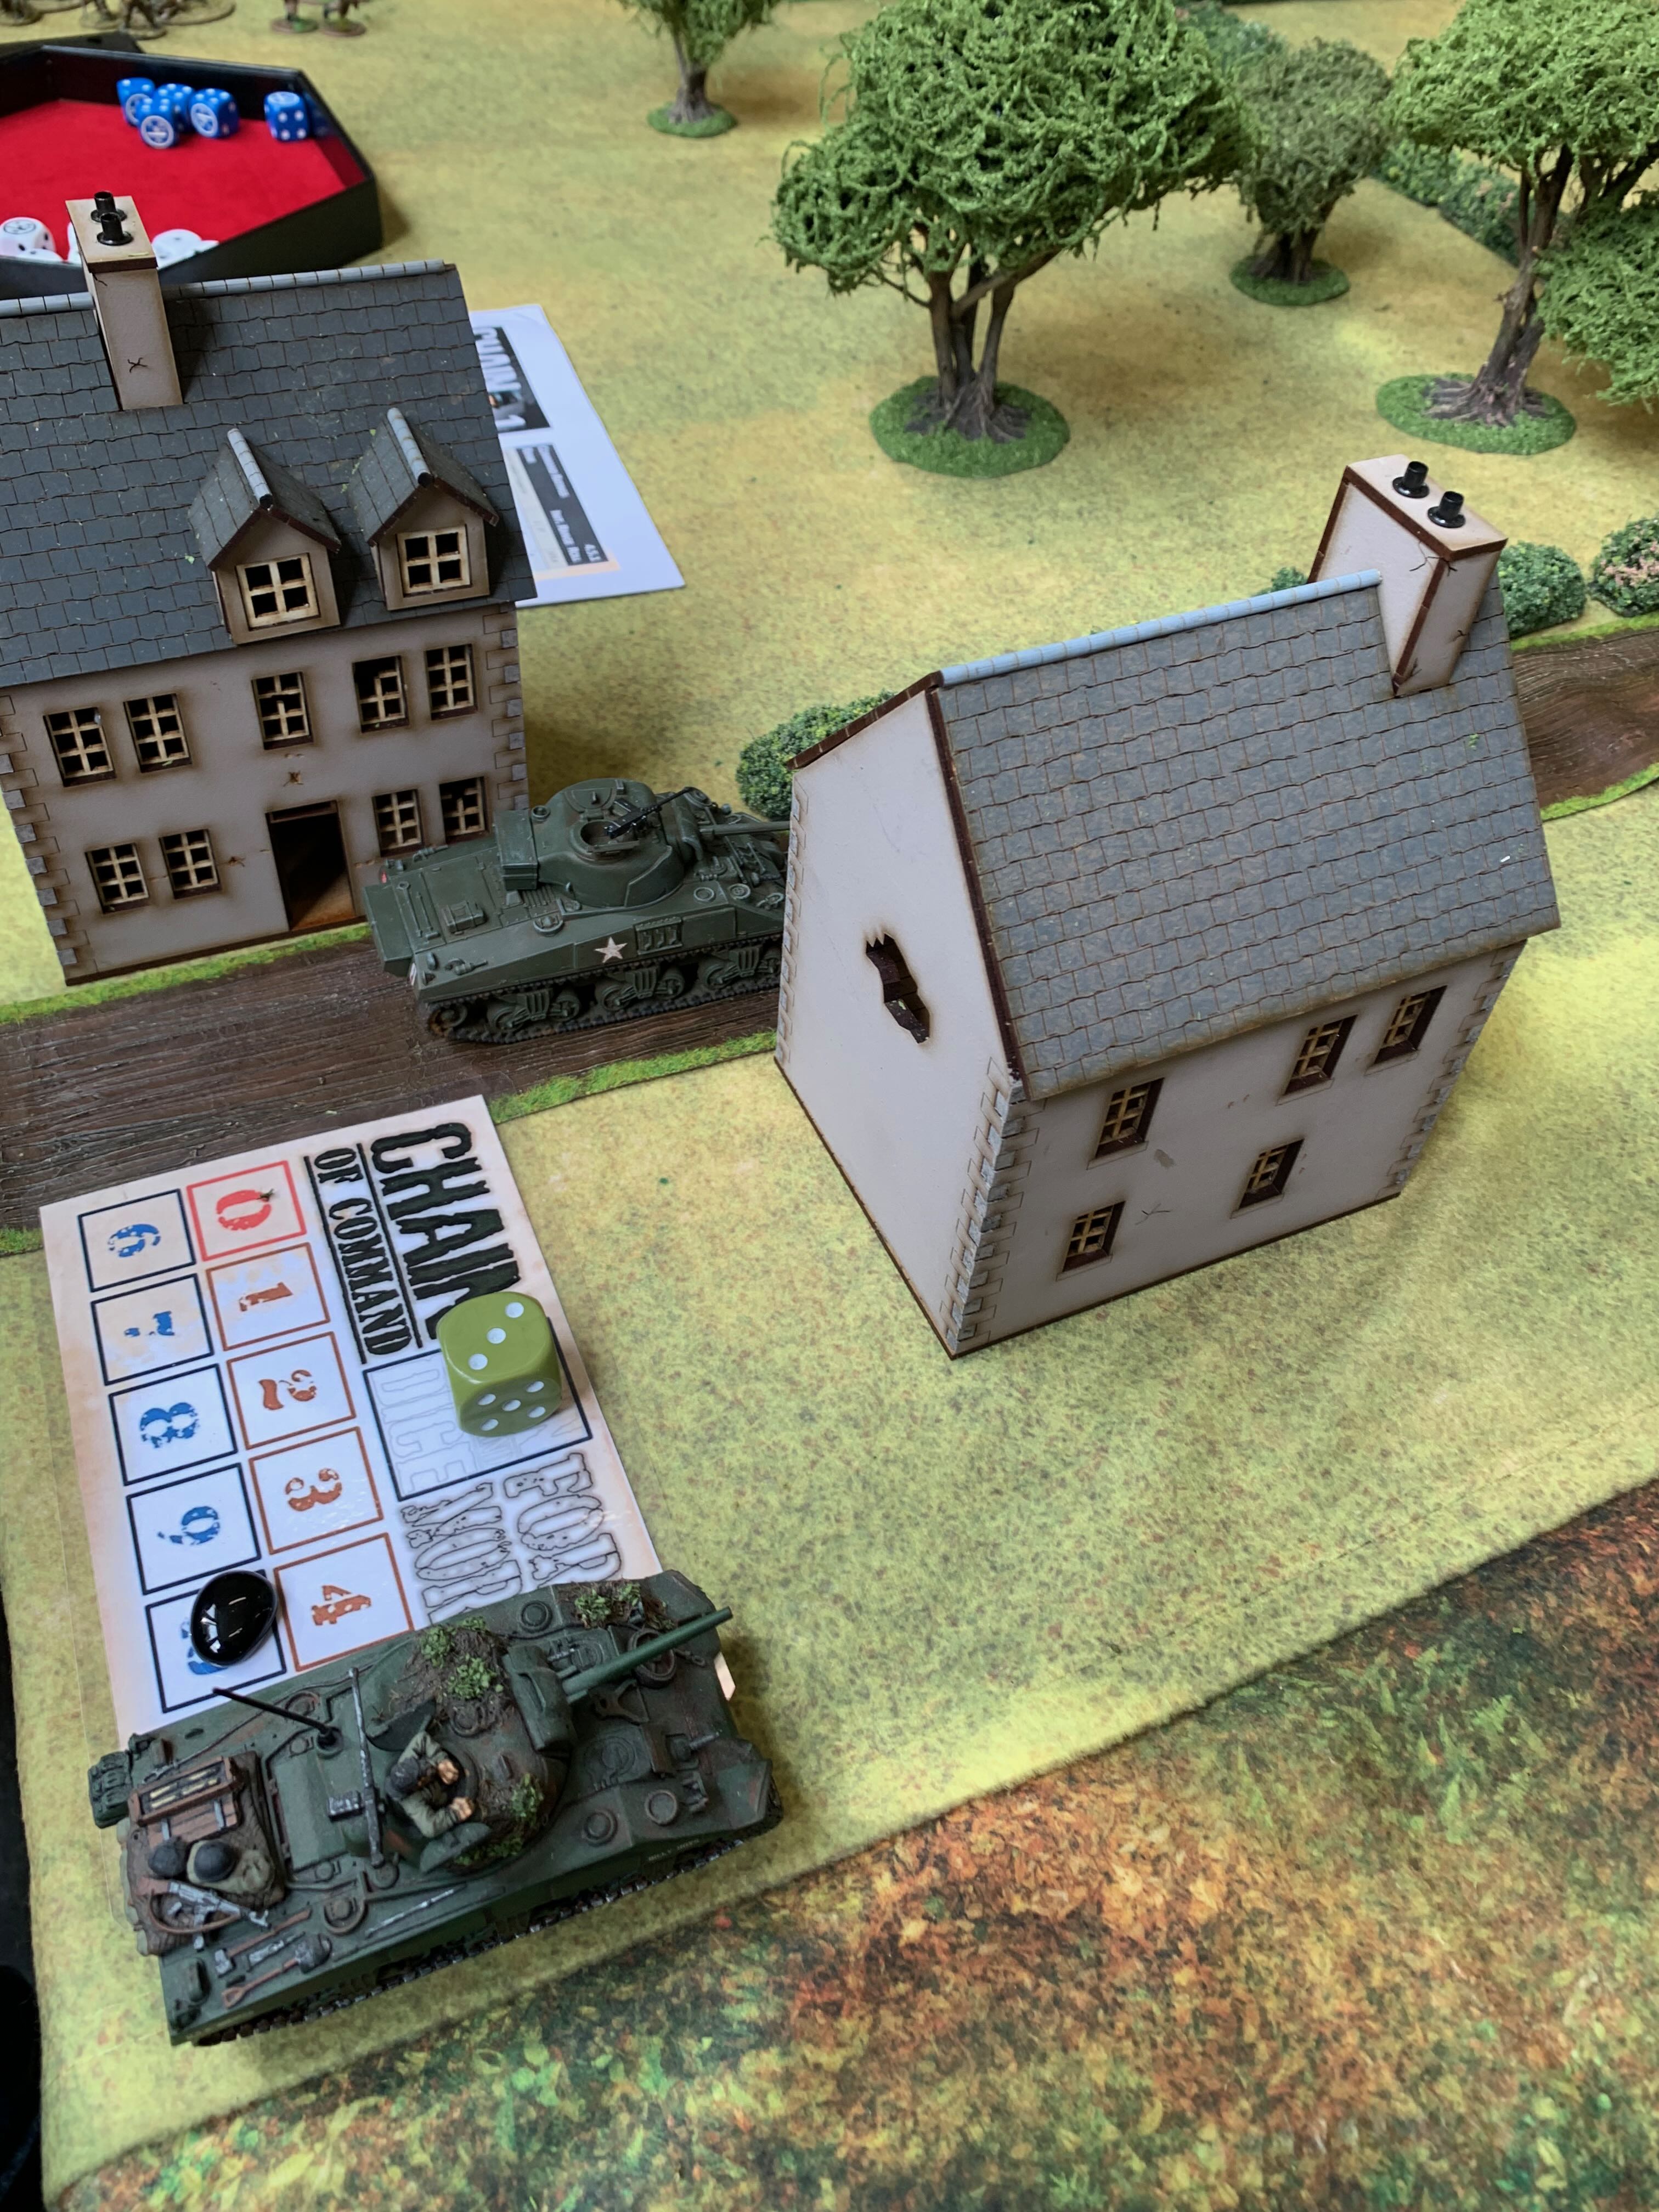
Here are some photos from the game:


The game was a lot of fun and seemed to capture the essence of the period. So I will be investing in more terrain and fielding a few more figures (and possibly an armoured car or A7V next time!)